Sending data from SpeckleGSA
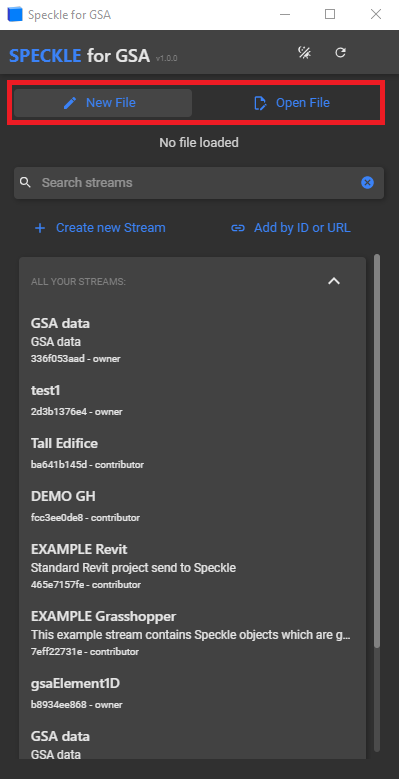
Before you can send a stream, you first need to create/open a GSA file in SpeckleGSA so the GSA connector for Speckle application and GSA can communicate.
Only files opened in SpeckleGSA are accessible by the GSA connector for Speckle application.
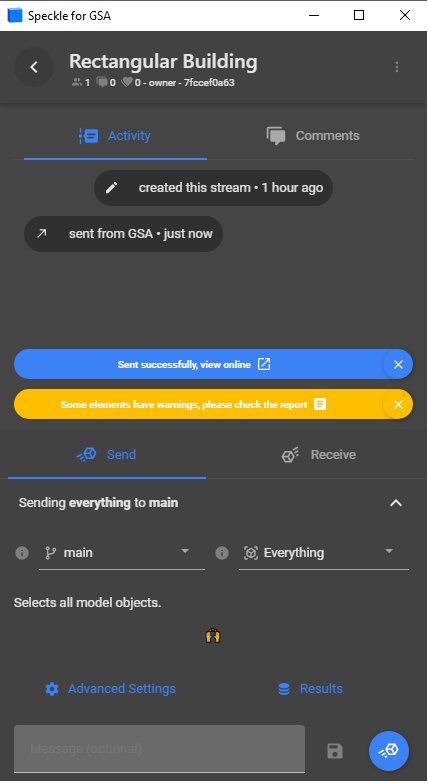
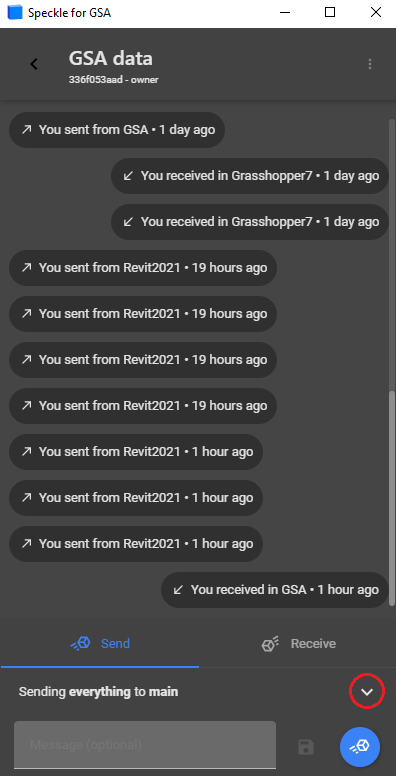
Select the desired stream from the list of streams.
Select send and expand the options.
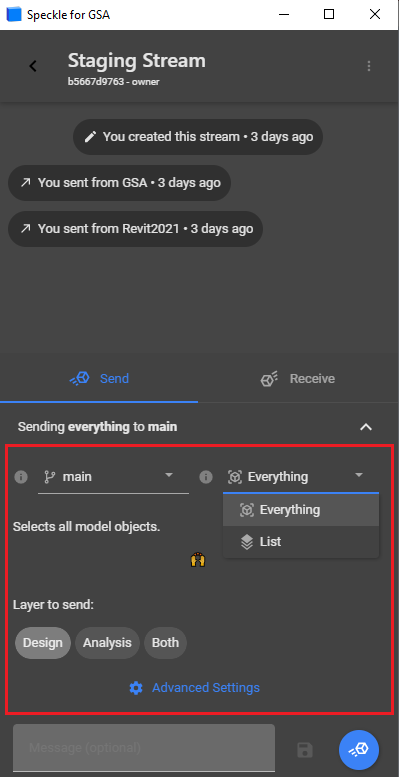
Additional options for the sender are now available. The user can modify the following behaviour of the sender:
- Speckle branch to send data to
- What to send (see Filtering)
- Layer to send (see GSA documentation for more info on layers)
Advanced Settingsallows the user to specify a speckle stream that the conversion will use to map catalogue sections (Section Mapping).
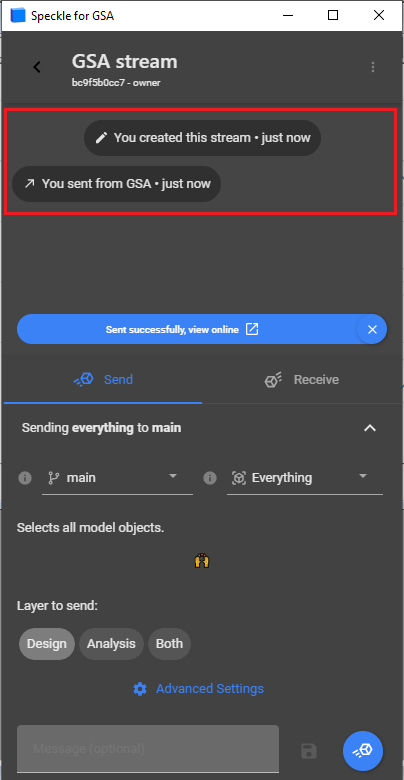
Press the send button (blue circle) to send the data from GSA to speckle. You can track the logs of sent/received streams easily in the desktop UI, as well as selecting the shortcut to view the stream in the Speckle web viewer.
Filtering
SpeckleGSA currently supports two options for filtering:
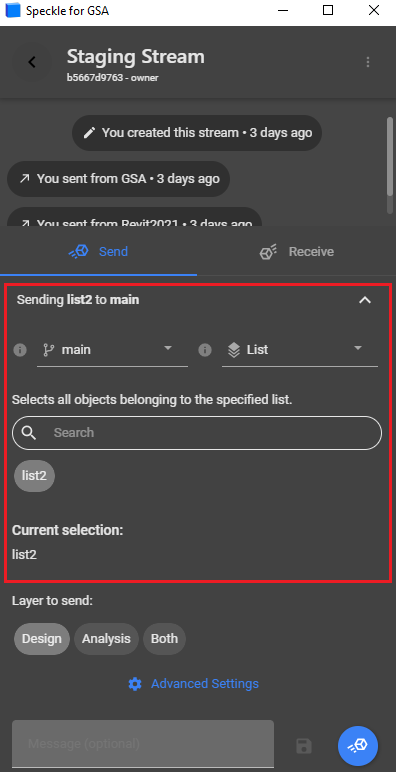
- Send everything (on selected layers)
- Send by list
Sending by list utilizes native GSA lists to group objects within the model. All lists defined in the GSA model will be visible for selection in the SpeckleGSA connector.
The connector currently supports the following list types from GSA:
- Member
- Element
- Node
- Case
Sending Demo
Sending Results
By default, SpeckleGSA doesn’t send results to Speckle. To add results, select the Results option on the send stream options page.

Ensure the Send Results checkbox has been selected. Three options are available for sending results:
- Send results to Speckle Server (these results will be available to receive by stream)
- Save results to local SQLite file (saves results in a local database, directory provided in logs)
- Save results as local .csv (directory provided in logs)
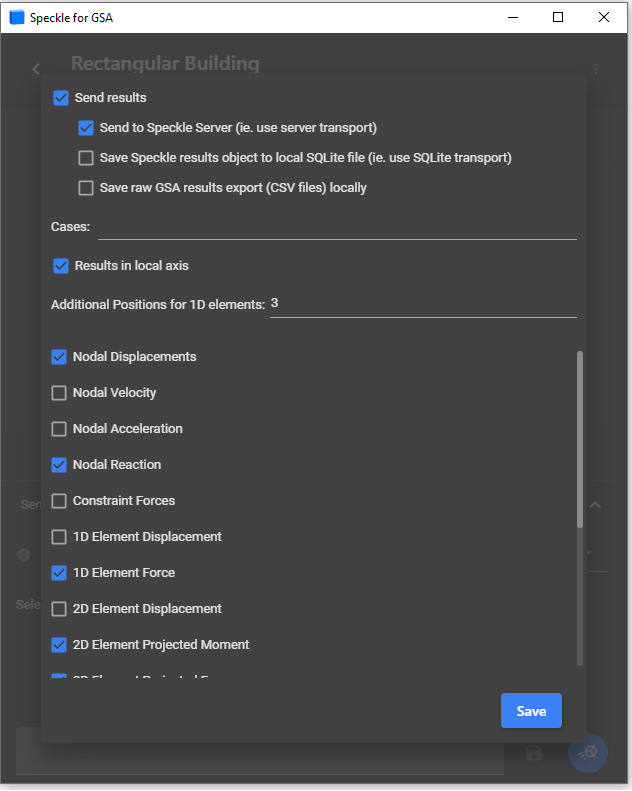
The user should define the cases by case name with a space between each entry, e.g. A1 A2 A3, or the keyword all can be used to select all cases.
Note: if the user selects Model with results but fails to provide inputs for Cases, no results will be sent to speckle.
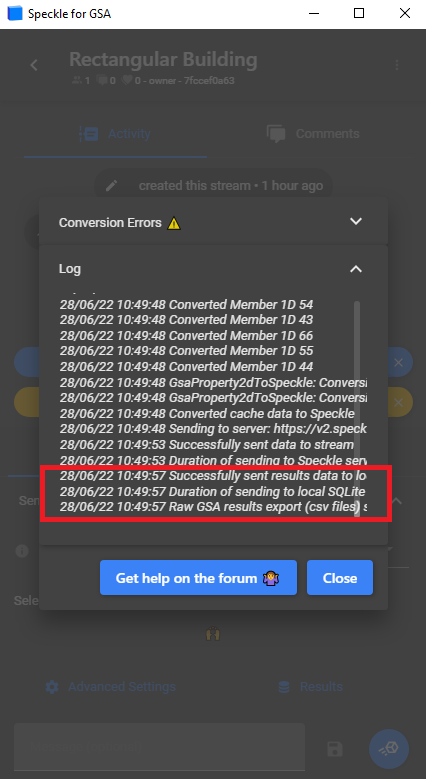
Select Save to save the results settings and return to the general send options. Hit the send button. If the local SQLite or .csv options were selected, directories for the files can be found in the logs. To access the logs, select the yellow check report button.