Sending data from grasshopper
Stay tuned for updates.
In this section we show how to create a structural model in Rhino / Grasshopper, and then send it to Speckle for later use in SpeckleGSA.
The example files that accompany this tutorial can be downloaded here
Creating the basic geometry in Rhino
The first thing we need is some geometry:
- Lines for columns
- Closed polylines for slabs and walls
- Points for foundations (support points)
Remember to set your Rhino units appropriately, in my case I am working in metres
Turning Rhino Geometry into SpeckleStructural objects
Next we can fire up Grasshopper and turn our basic geometry into the SpeckleStructural objects that we will eventually send to the Speckle server.
SpeckleStructural is a vendor-neutral format for describing structural models. Currently the only major client is GSA, but an ETABS client is also being developed.
Unlike normal Grasshopper plugins that tend to have components for creating every data type, Speckle instead utilises a generic system to allow you to create a Speckle object from any loaded SpeckleKit.
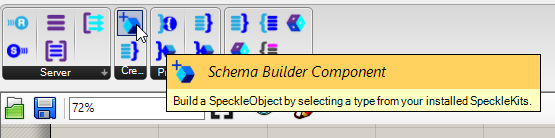
To do this we will utilise the Schema Builder component.
To choose which object we want to create we then right-click on the component and navigate to the SpeckleStructural kit.

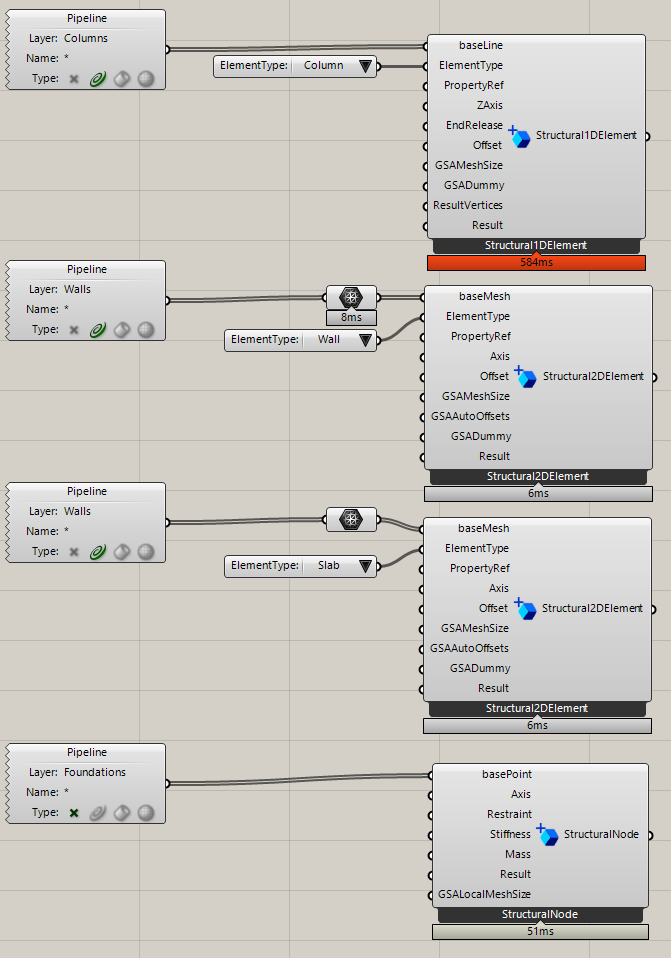
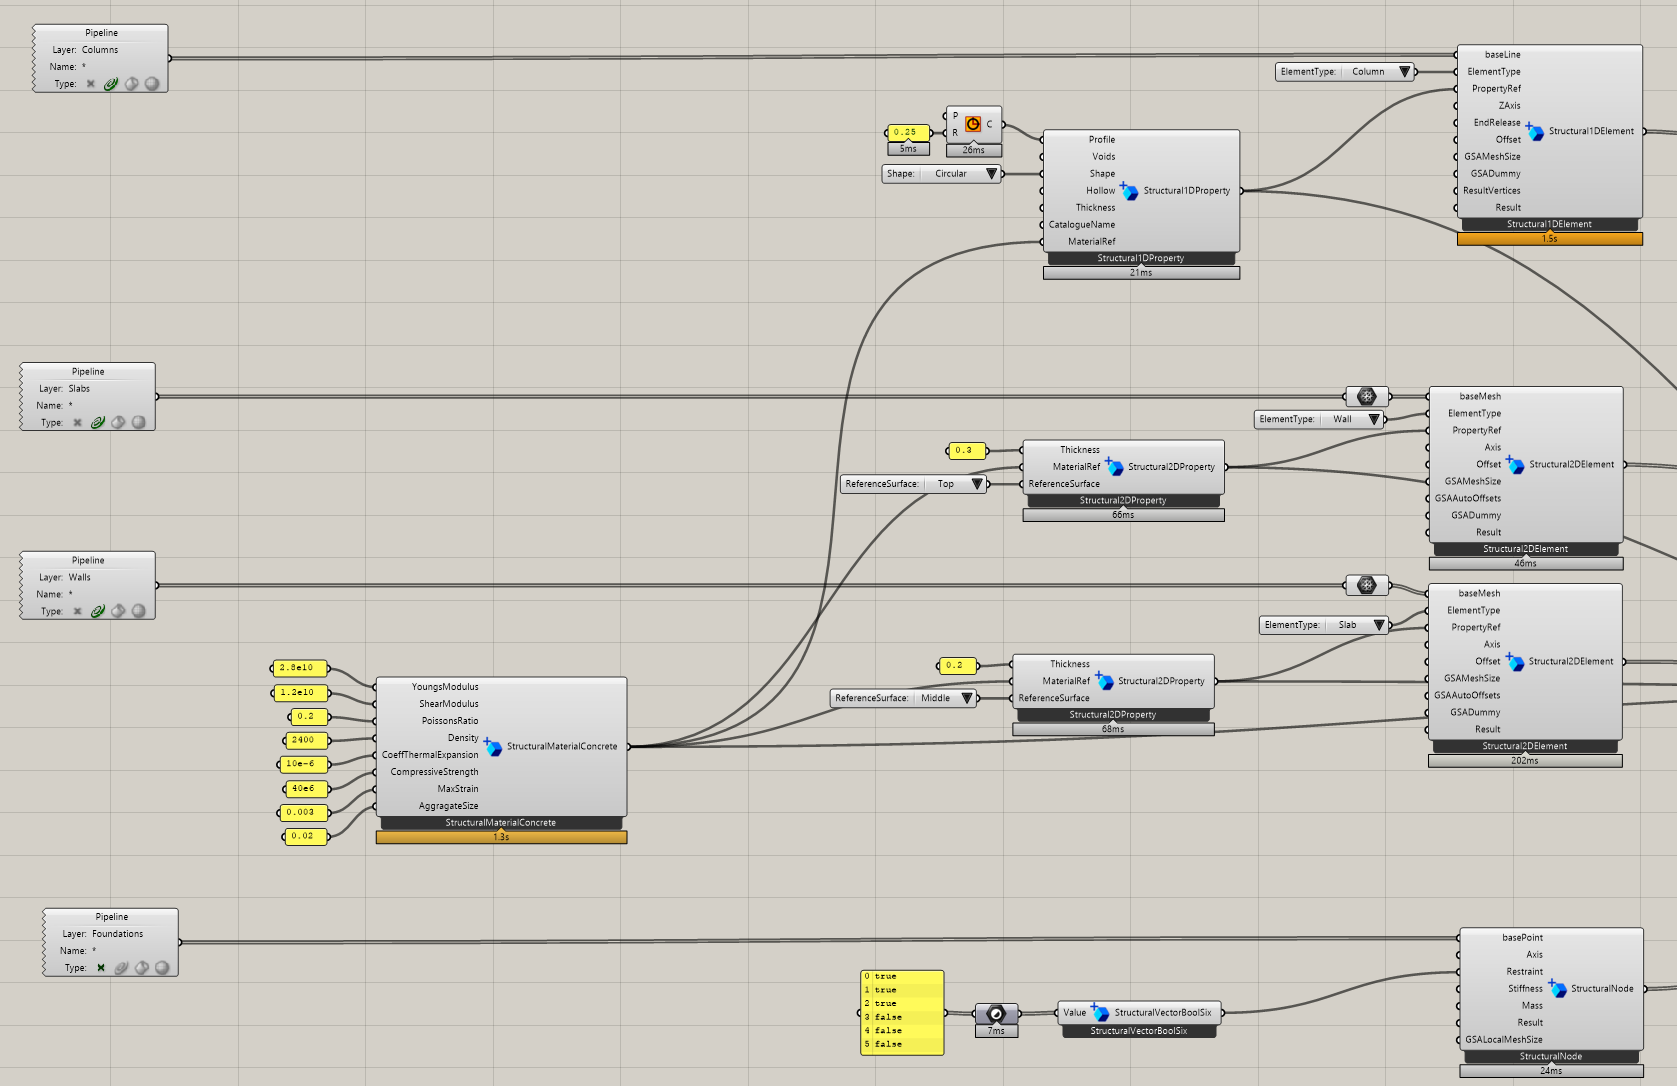
For our simple model we will need:
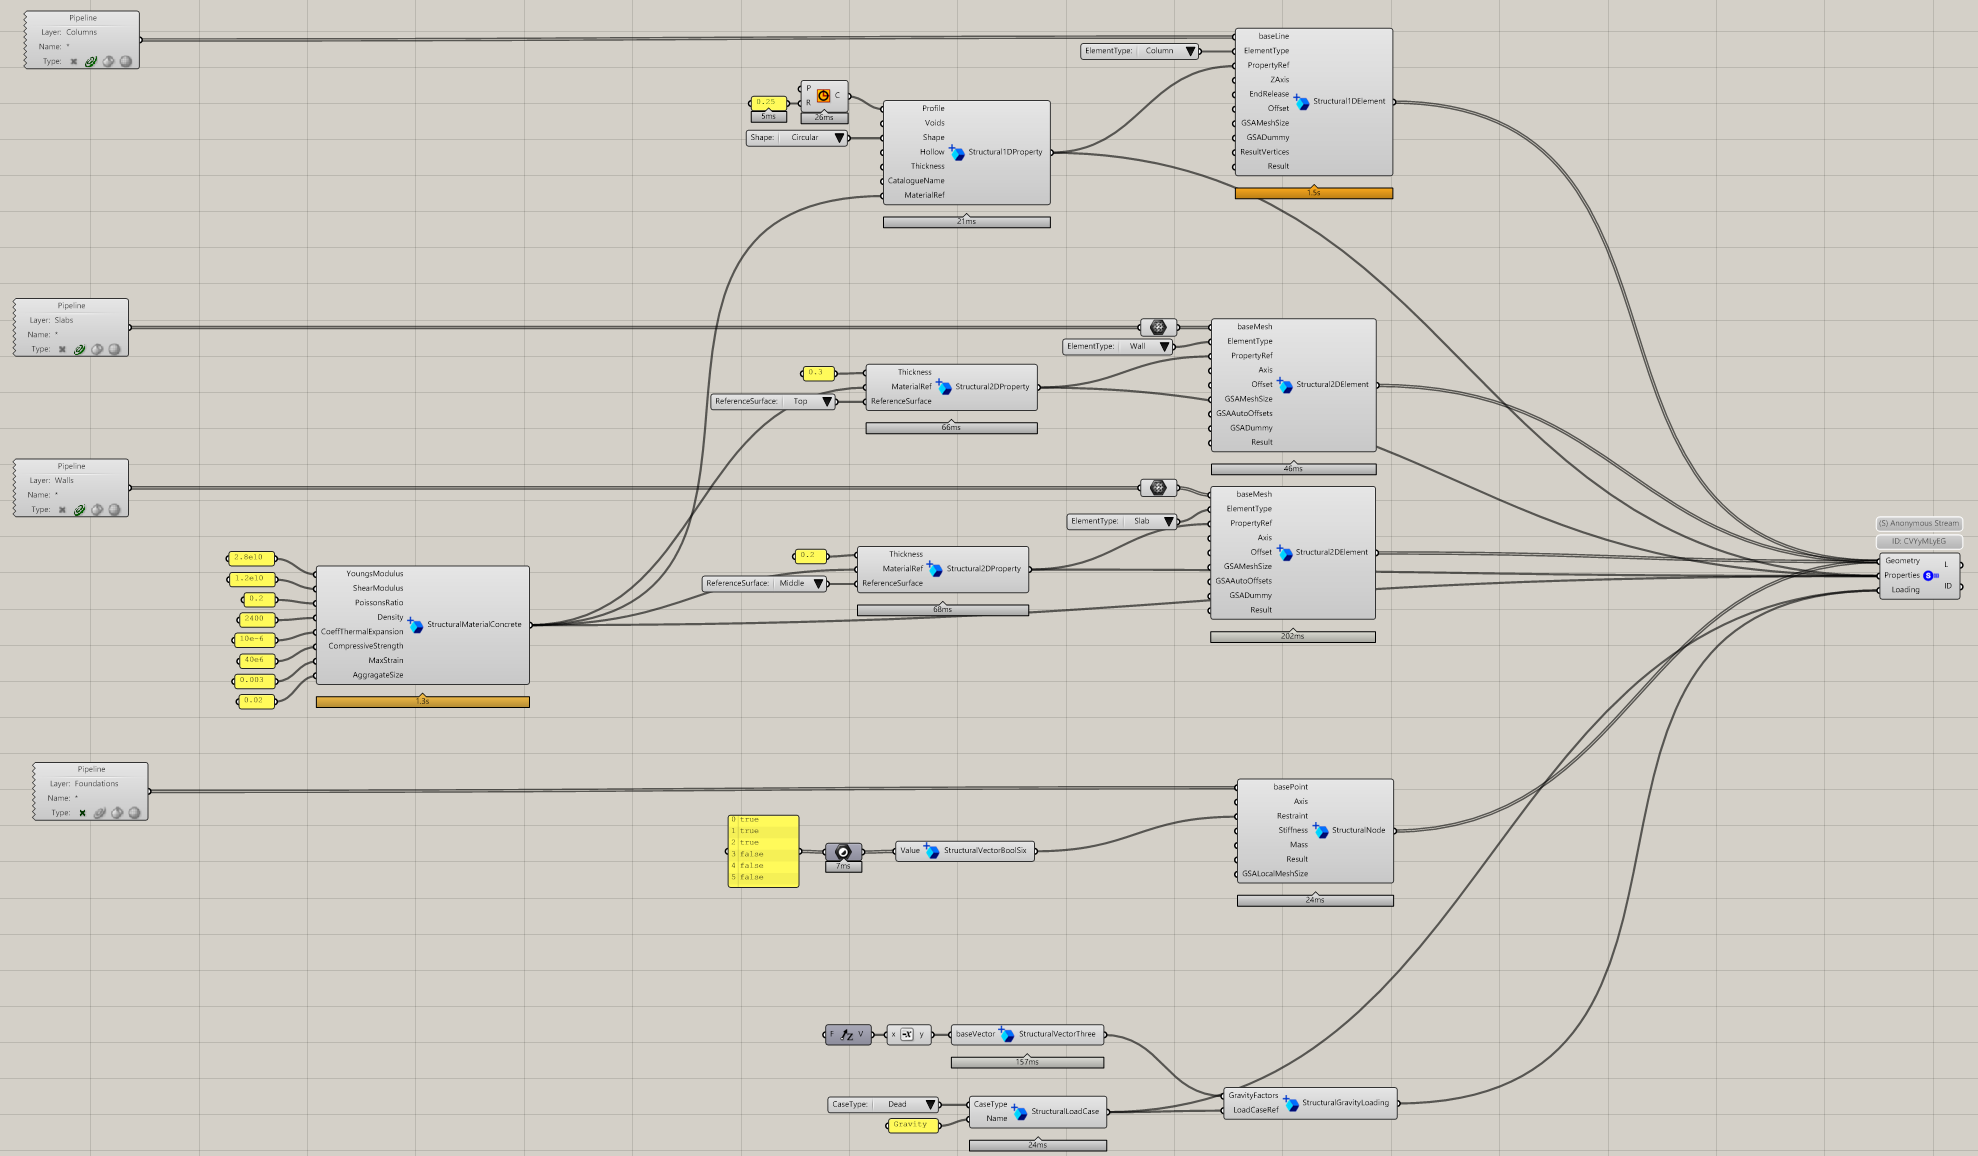
Structural1DElement(for the columns)Structural2DElement(for the slabs and walls)StructuralNode(for the foundations)
Then all we need to do is wire our geometry into the relevant ‘base’ property (basePoint, baseLine, baseMesh)
Note that the 2D element needs a mesh as its base geometry. This is not the finite element mesh (this will be generated later in GSA), so for now just convert your closed polyline into a Rhino mesh by running it through a Grasshopper mesh component.
Creating and setting properties
Now we have created our basic geometrical features we need to create some analysis properties.
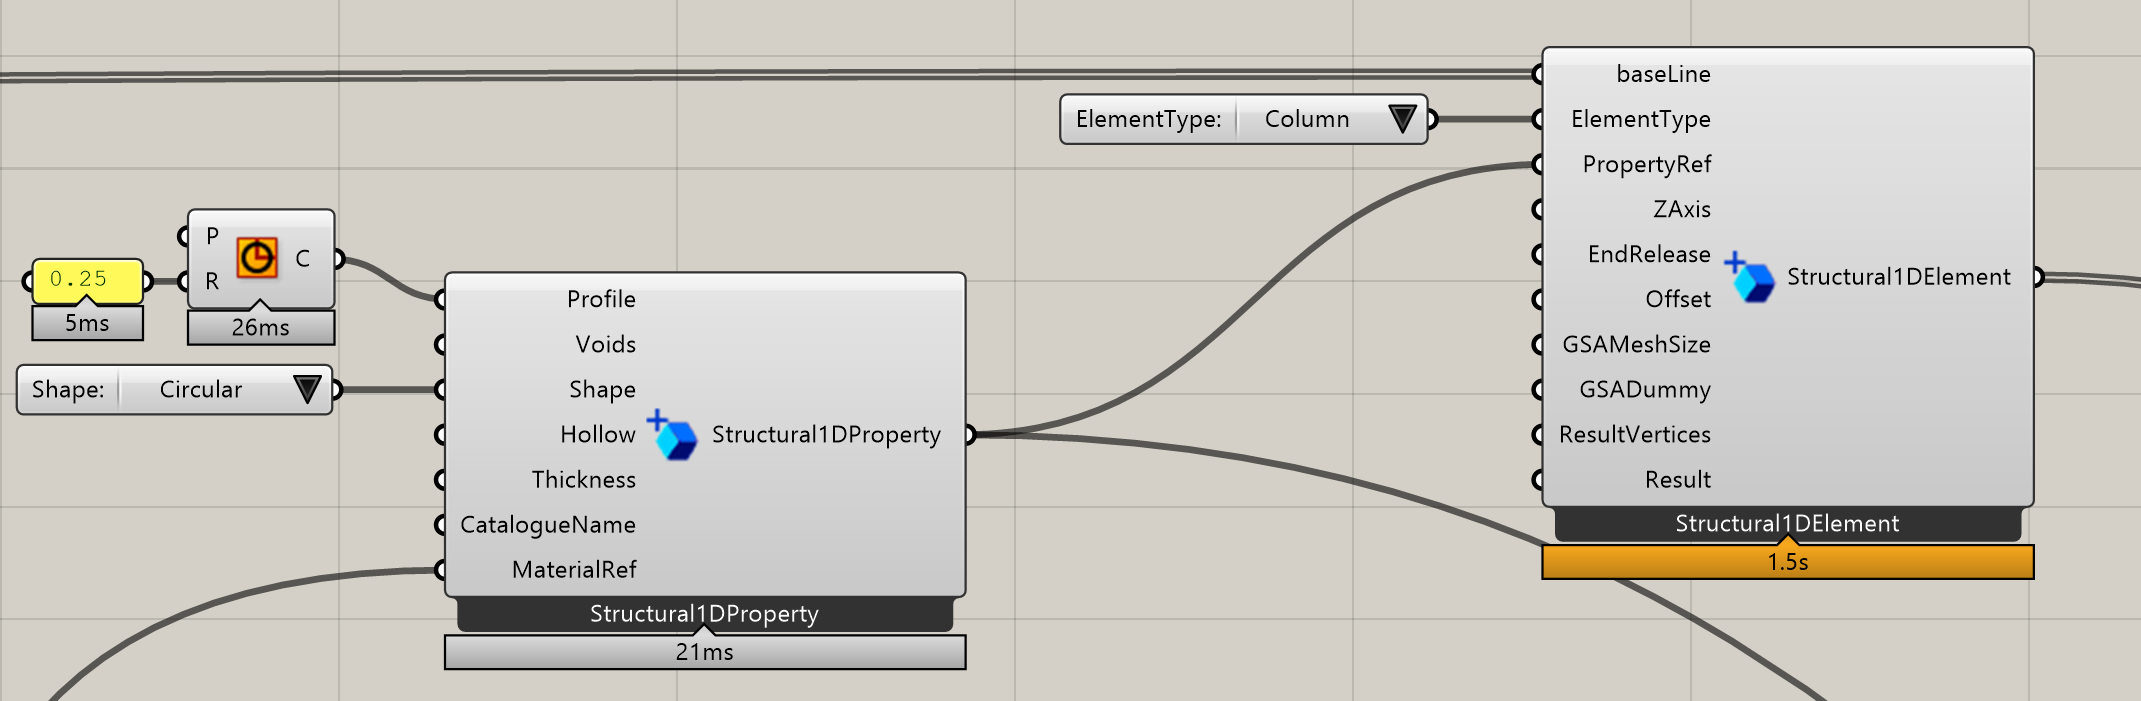
The steps to create a 1d property and link it to a 1d element are:
- Create a
Structural1DPropertyusing theSchema Buildercomponent - Assign its key properties (section shape and profile)
- Wire the output of the
Structural1DPropertyto thePropertyRefinput of theStructural1DElement.
The above process will only work if you are using the SpeckleGrasshopper-cx components. The latest version of these components can be found on the GitHub releases page
The above process can then be repeated for the remaining properties:
Structural2DProperty(for the walls / slabs)StructuralConcreteMaterial(for the 1D and 2D properties)StructuralVectorBoolSix(to describe the fixity of our foundations)
Speckle is not super smart about casting data types like normal Grasshopper so we have to explicitly cast our text list to a boolean list using the in-built Grasshopper Bool component for the StructuralVectorBoolSix component to work
Creating some loads
Finally, to create out basic model that will run in GSA we need to create some loads utilising:
StructuralGravityLoadingStructuralVectorThree(to describe the direction of our gravity load)StructuralLoadCase
These can generally be created in the same way as previously described for other parts of the model.
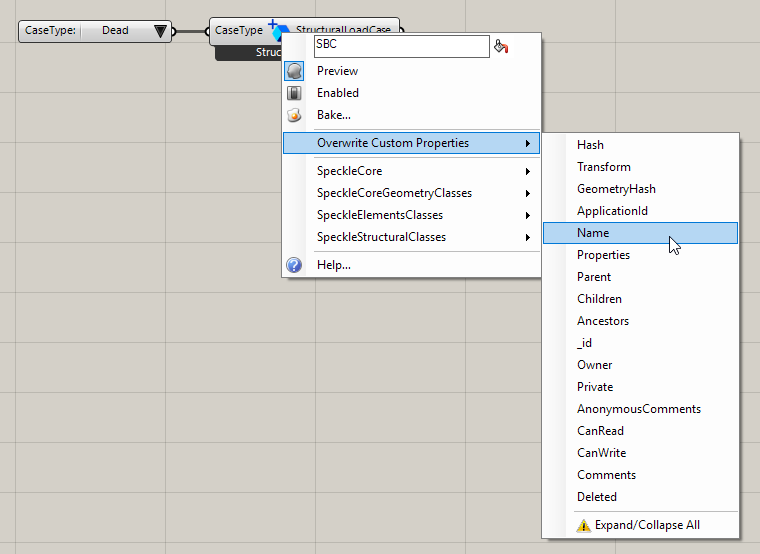
One exception is setting the name of our load case, where we have to expose the ‘Name’ input of the component by selecting it in the ‘Overwrite custom properties’ menu.
The completed part of the script for creating gravity loading is below:

Sending
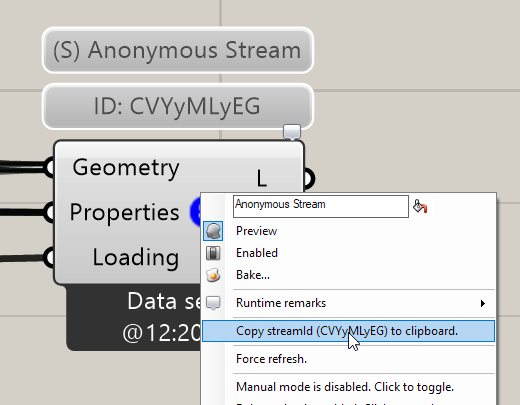
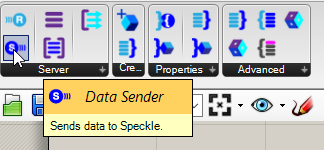
Our basic model is now complete and is ready to be streamed to the Speckle server for later consumption by SpeckleGSA. To do this we will use the DataSender component.
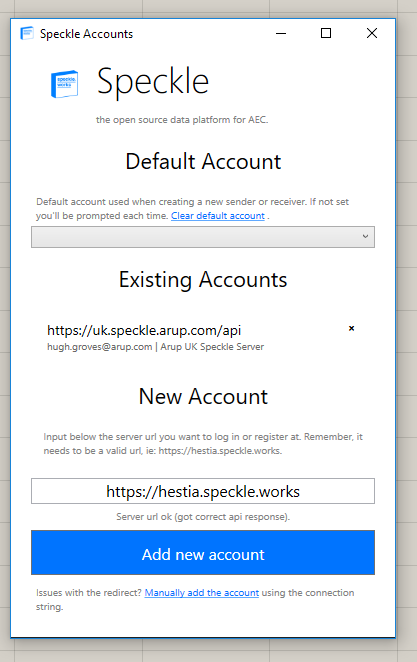
When you first put this on the canvas you will be prompted to login to your chosen Speckle server.
After you login the component will appear on the canvas. Now you will need to wire in every SpeckleStructural object that you want to send to SpeckleGSA. Each of the inputs are layers that you can use to help organise your data.
Congratulations, you are now done!
Make a note of the stream id (you can use the right-click menu to copy this to the clipboard), then make sure to follow the notes in organising your stream before moving on to receiving your stream in SpeckleGSA.